Using Word art in Google Docs helps produce clean, readable text graphics for the stuff authors actually ship, like quote cards, chapter break ornaments, newsletter headers, and workshop handouts. I care less about flashy effects and more about whether your words stay legible at thumbnail size, export without looking jagged, and match your book branding so a reader recognizes you in half a second.
Google Docs is not Illustrator, and pretending it is will waste your time. But for fast, repeatable assets that look professional on social media and in PDFs, it can carry more weight than most authors give it credit for, especially if you learn the drawing canvas, pick fonts with intent, and export the right way.
I am going to show you how I approach word art as a publishing asset rather than a craft project. You will build something you can reuse across your launch graphics, reader magnet PDF, and promo posts without fighting the tool every single time.
Table of Contents
Word Art That Sells Books, Not Just Looks Pretty
Most author word art fails because they are designed like a poster and viewed like a postage stamp. Your reader sees it as a tiny rectangle on Instagram, a small image inside an email, or a compressed graphic on Facebook. If your typography cannot survive that abuse, the design is decoration, not marketing.
When I build word art for authors, I start with the job it needs to do. Is it a quote card meant to earn a save and a share? Is it a series header for a newsletter? Is it a section title inside a reader magnet? Each one has different constraints, and Google Docs can handle most of them if you design for clarity first.
Where Google Docs Word Art Fits In An Author Workflow
Here are the author use cases where Google Docs word art is genuinely useful.
- A branded pull quote for social.
- A simple banner for a BookFunnel or StoryOrigin reader magnet PDF.
- A heading graphic inside a Google Docs manuscript you share with beta readers.
- A clean graphic you paste into a Canva template later because you want consistent typography across platforms.
If you are trying to make a full cover, stop. Covers have thumbnail tests, genre signaling, and typographic nuance that calls for professional tools and professional judgment. I would rather you use a proper cover workflow or an Adazing cover tool for that part of the job and keep Google Docs for the quick assets you produce every week.
Legibility Beats Effects Every Time
Effects are seductive because they resemble progress. They are also the fastest way to wreck readability. Drop shadows, outlines, glows, and gradient fills can work, but only when they create contrast and separation. When they blur edges, your text turns into a smudge the moment the platform compresses it.
So, design backward from the smallest size the graphic will appear. If it is going on Instagram, test it on your phone. If it is going in an email, paste it into a draft and view it on a mobile device. This is the same discipline cover designers use when they check a thumbnail, and it applies here too.

Building Word Art In Google Docs Without Fighting The Tool
Google Docs creates word art through the Drawing window. That is the whole trick. Once you treat the Drawing canvas like a mini design board, you stop wrestling with formatting inside the document body, and your results get more consistent.
Creating The Word Art Object
Open your document, go to Insert, then Drawing, then New. In the Drawing window, click Actions, then Word art. Type your text and press Enter. Google will drop it onto the canvas as a single object you can resize, rotate, and style.
Keep your first version blunt and readable. Do not chase styling until the words fit and the hierarchy is right. If you are doing a quote card, you usually want one short line to function as the hook, then the attribution in smaller type. If you are doing a banner, you usually want the series name and a simple subtitle.
Controlling Font Choice Like A Publisher
There are limited Google Docs fonts, so use this feature well. Pick a font with the job in mind. For romance quote graphics, you can go slightly more decorative, but avoid fonts with thin hairlines that break under compression. For nonfiction, a clean sans-serif tends to read better in social feeds.
If you want evidence for why simple, familiar typeforms often win, look at usability guidance that prioritizes readability and scannability over ornament. The Nielsen Norman Group’s typography guidance is aimed at UX, but the principle transfers. Readers skim, and your type has to survive skimming.
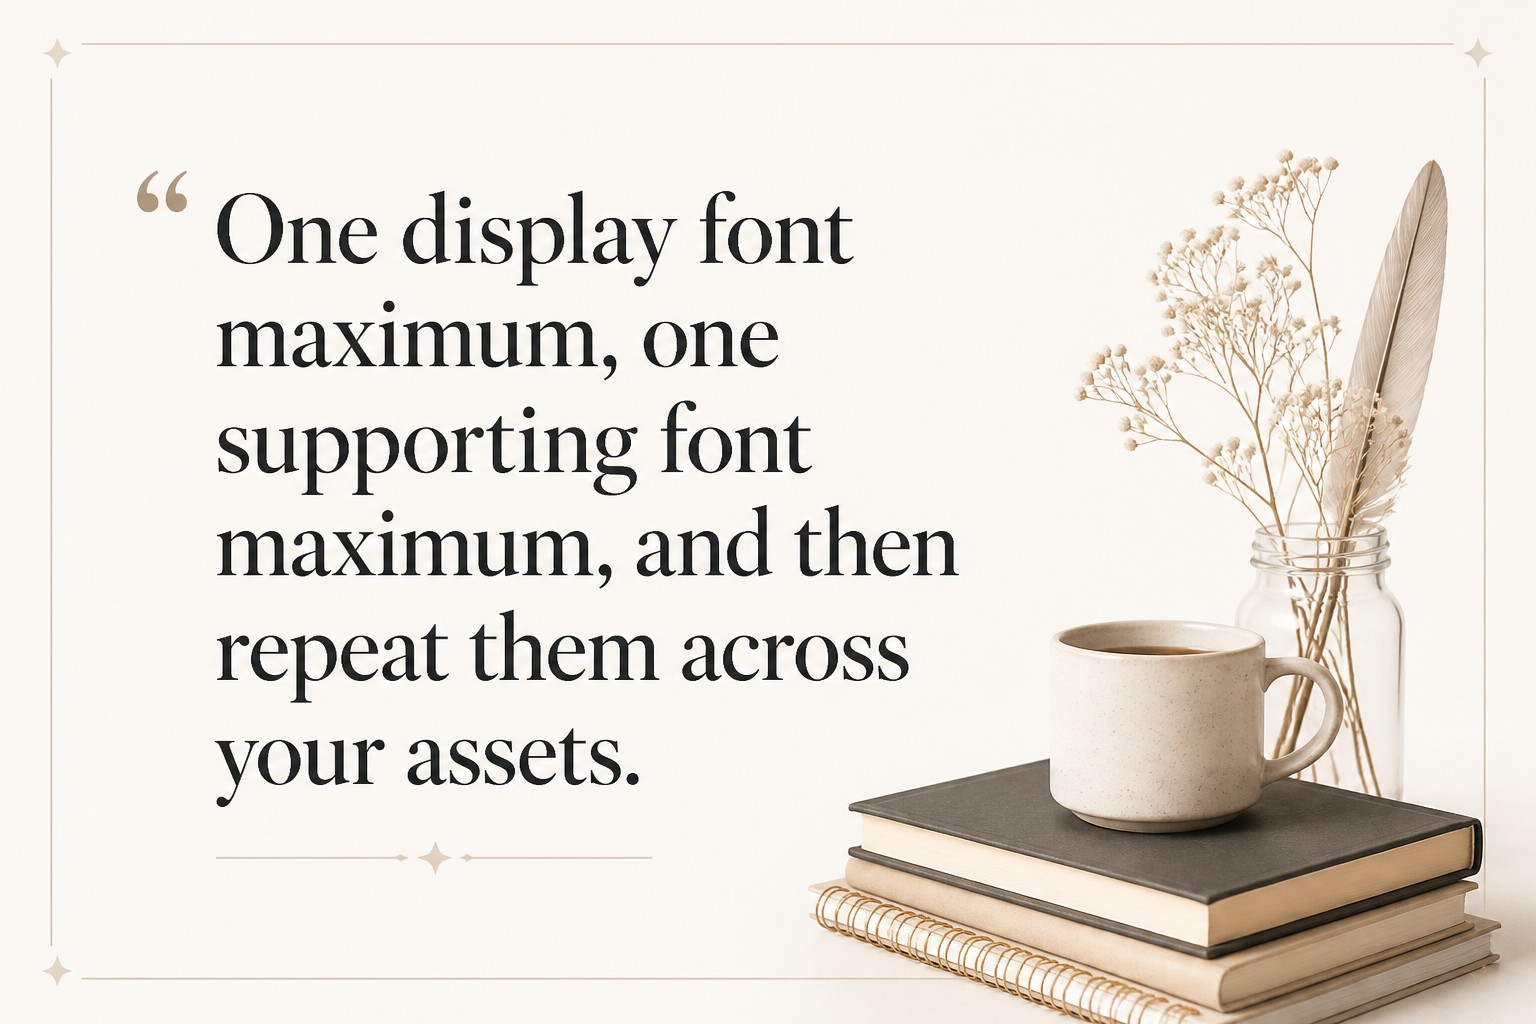
Set a rule for yourself. One display font maximum, one supporting font maximum, and then repeat them across your assets. Brand consistency is not a logo. It is repetition that trains recognition.
Fill, Border, Shadow, And Alignment That Actually Work
Select the word art object, then use the toolbar to set Fill color and Border color. I usually start with either dark text on a light background or light text on a dark background, then add a border only if the text is going to sit on a photo. If you are placing text over imagery, give it a solid border or put it on a semi-opaque shape. Do not trust a soft shadow to do the job, because compression will turn it into fog.
Alignment is where authors accidentally telegraph amateur hour. Use the Arrange menu for center alignment and spacing. Keep consistent margins. If your quote is centered, commit to centered. If it is left aligned, commit to left. Mixed alignment inside one small graphic reads as indecision.
Designing Author Assets Readers Recognize At A Glance
Your word art should look like it belongs to the same author across months of posts. The best marketing assets feel inevitable, like they could only have come from you and your book. That comes from a small set of repeated choices, not from endless new effects.
Hierarchy That Guides The Eye
Hierarchy is the difference between a quote graphic someone reads and one someone scrolls past. Pick one element to be dominant. That could be a single line from the quote, your series name, or the promise of the nonfiction topic. Everything else supports that dominant element.
A simple hierarchy rule that works for most author graphics is 60 30 10. Sixty percent of the visual weight in your main line, thirty in the supporting line, ten in your name or handle. This is not math. It is a way to stop giving everything the same volume.
Color Choices That Stay Accessible
Color is not where you show range. Color is where you protect readability. Use high contrast. If you are not sure, check the contrast ratio. The WCAG contrast guidance is written for web accessibility, but it is also a blunt instrument for better graphics. If your pale gold script disappears against a cream background, the problem is not taste. It is physics.
For author branding, pick a base neutral and one accent color. Then repeat. If you have a cover palette, steal from it. Your readers already associate those colors with your book, and you want your marketing to piggyback on that recognition.
Genre Expectations And When To Break Them
Different genres train readers to respond to different visual cues. For example, thrillers tolerate harsher contrast and tighter type. Cozy mysteries tend to go warmer and friendlier. Epic fantasy often supports more ornate display type, but only if it stays readable. If you break the expectation, do it on purpose and do it consistently, because random deviation reads as chaos.
If you already use Adazing tools for cover concepts or branding experiments, pull those same signals into your word art. Remember, the point is to use the same visual language so your ads, posts, and book page feel connected.
Exporting Clean Graphics From Google Docs Without Pixel Soup
The second most common failure I see is authors building decent word art and then exporting it in a way that destroys it. Google Docs will happily let you paste screenshots and blurry images into the world. Your readers will also happily ignore blurry images.
Getting A Higher-Resolution Output
Google Docs Drawings does not offer a simple export size control. Here is what I do instead. I build the word art in the Drawing window at a larger size than I need, then I place it into the document and save the whole doc as a PDF when I need print-quality assets for reader magnets or handouts.
For social graphics, I often copy the drawing into Google Slides, because Slides has better control over page size and exports clean PNGs. Set the slide to your target size, like 1080 by 1080 for Instagram, then paste the word art and export the slide as a PNG. This takes two minutes and prevents most fuzziness problems.
Handling Backgrounds The Right Way
If your word art needs a transparent background, Google Docs is unreliable for that. Google Slides is usually the easier path. Build on a solid background color that matches your brand, or export from Slides and remove the background in a dedicated tool if you need transparency.
Text over photos is where legibility dies. If you insist on using photos, add a rectangle shape behind the text with partial transparency so the letters always have a stable value to sit on. High contrast buys you more than any fancy font ever will.
Consistency Across Formats
Once you have a look you like, save it as a reusable template. In practice, that means keeping a Google Doc or Slide deck called something like “Author Graphics Template” with your preferred fonts, colors, and a few pre-built layouts. Then you duplicate it and swap text.
This is the same philosophy I apply to book marketing. Repeatable systems beat bursts of inspiration. If you can produce a good quote card in five minutes, you will produce a lot more of them.
Using Word Art As Part Of A Repeatable Book Marketing System
Word art is not a one-off trick. It is a production tool. The authors who get real mileage from it treat it like a content pipeline where every asset supports discoverability, reader retention, and long-term sales.
Quote Cards That Actually Pull Their Weight
A quote card that performs usually does one of three things. It signals the book’s emotional promise. It sets up a question that demands context. It delivers a line with a sharp turn that readers want to share. Flat exposition does not share well, even if it is nicely typeset.
If you are writing fiction, use character voice, not author commentary. If you are writing nonfiction, use a concise claim your audience can repeat. Then put your author name or series name small and consistent, because the goal is recognition without clutter.
Reader Magnet Interiors And Chapter Break Graphics
Google Docs word art works well inside PDFs, especially for section headers and chapter breaks. Keep the typography quiet and consistent, so the reading experience stays smooth. A chapter break ornament that screams is still screaming on page thirty.
When you distribute a reader magnet through BookFunnel or StoryOrigin, your PDF might be read on a phone. That means your headers and ornaments should not be tiny. Build them for mobile first, and you will be safer everywhere else.
Connecting Graphics To Your Bigger Tool Stack
I like simple tools that authors actually use. If you are drafting faster with a writing tool like Adazing QuickWrite, you will have more lines worth pulling for quote cards and more consistency in your output. If you are experimenting with cover concepts or series branding, that visual direction should flow into your word art templates so your marketing does not look like five different authors sharing one pen name.
Pick one day a month to refresh your templates. Update the fonts if needed, tighten your color palette, and retire the layouts that are not pulling their weight. Marketing assets that do not perform are not sentimental keepsakes. They are clutter.
FAQs for Create Stunning Word Art in Google Docs
Can I curve text for word art in Google Docs?
Google Docs word art does not support true curved text. If you need text on a path for a logo-style mark or a badge, I recommend doing that part in Google Slides with an add-on, or in a dedicated design tool. For most author needs like quote cards and headers, straight text with strong hierarchy performs better anyway.
Why does my word art look blurry when I download it?
It is usually an export and scaling problem. If you create small word art and then enlarge it later, you get blur. Build larger than you need, then shrink. If you need a clean PNG for social, paste the word art into Google Slides sized to your target dimensions and export the slide as PNG.
What font should I use for author quote graphics?
Pick a font that matches your genre and stays readable on a phone. In practice, that means a sturdy sans-serif or a clean serif for most nonfiction, and a restrained display font for fiction accents if it does not collapse at small sizes. Then repeat the same one or two fonts across your graphics so readers learn the look and connect it to your name.
The Standard To Hold Your Word Art To
Your Google Docs word art should pass three tests before you post it. It stays readable on a phone, it matches your existing book branding, and it exports cleanly without blur. If it fails any of those, simplify the styling and rebuild it as a template you can reuse, because the goal is not one pretty graphic. The goal is a repeatable way to put your words in front of readers week after week.