
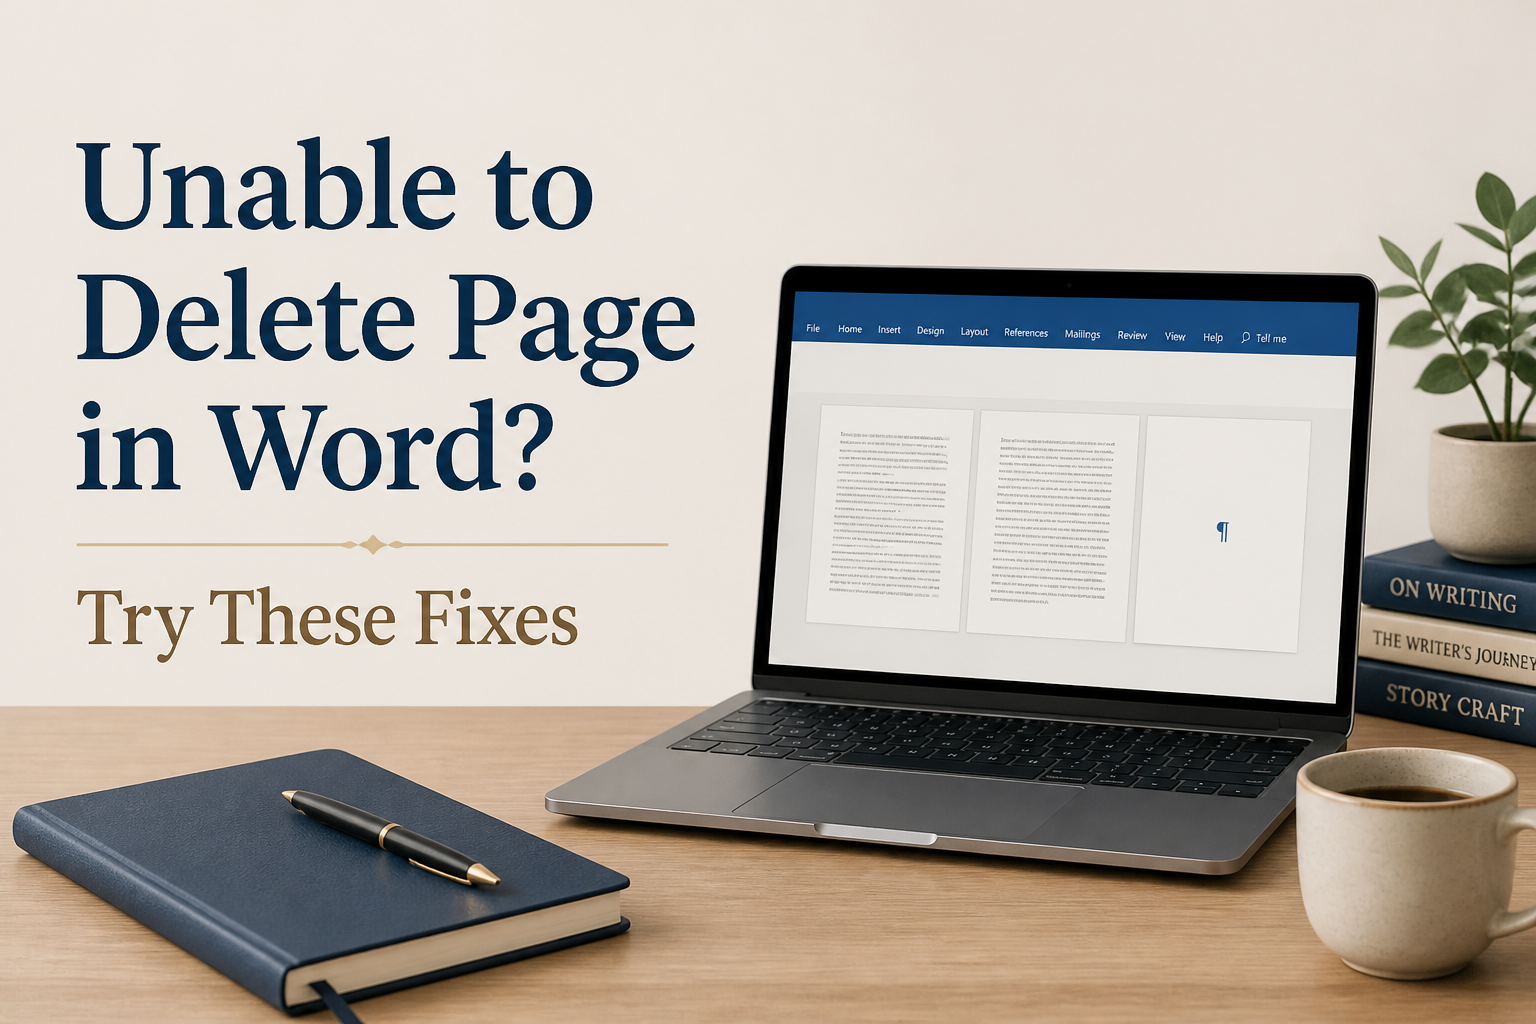
The “unable to delete page in Word” problem usually comes from something hidden on the page. A stray paragraph mark, a manual page break, or a section break often sits there and controls the layout. Because Word treats these marks as part of the document’s structure, pressing Backspace at the end of your visible text may leave the blank page sitting there like an unwanted extra chapter.
For a manuscript, this problem can create more than a minor annoyance. A blank page can shift chapter openings, disrupt your print layout, add an empty page to a PDF, or make your paperback file fail a careful proofread. I recommend diagnosing the page before deleting random spaces. Once you can see the formatting marks, the cause usually becomes obvious.
Start with the formatting symbols, then work from the simplest fix to the more stubborn ones. Before changing section breaks or page settings, save a copy of your manuscript, especially when you have already formatted the book for Amazon KDP, IngramSpark, or a print designer.
Table of Contents
Show Hidden Formatting Marks
The fastest way to find a stubborn blank page is to reveal what Word normally hides. On the Home tab, select the paragraph symbol (¶), or press Ctrl+Shift+8 on Windows or Command+8 on Mac. Microsoft’s Word support page on showing formatting marks covers both options.
With the marks turned on, look at the empty page. You may see one or more paragraph symbols, a line labeled “Page Break,” or a line labeled “Section Break.” Each object needs a different fix. Treating every blank page as a pile of empty paragraphs is how a clean manuscript turns into a damaged layout.
Extra Paragraph Marks
If the page contains several ¶ symbols, place your cursor before the first one and drag through the remaining marks, then press Delete on Windows or Forward Delete on Mac. You can also click at the start of the blank page and hold Backspace until the page disappears.
With the marks turned on, look at the empty page. You may see one or more paragraph symbols, a line labeled “Page Break,” or a line labeled “Section Break.” Each object needs a different fix. Treat every blank page as a pile of empty paragraphs, and a clean manuscript can end up with a damaged layout.
Manual Page Breaks
A manual page break appears as a labeled line when formatting marks are visible. Click directly before the break and press Delete to pull the following text upward into the available space.
For a novel, check the chapter opening after removing the break. Some authors insert page breaks before every chapter so each chapter begins on a fresh page. If the break belongs there, leave it in place and inspect the blank page around it for an extra paragraph mark.
Delete only the mark that causes the unwanted page. A manuscript’s invisible formatting has a job, especially after you have prepared a print interior. I keep formatting marks visible during layout work because they expose problems before they reach a proof copy.

Delete Page And Section Breaks
Section breaks control more than pagination, since they can change headers, footers, page numbering, margins, columns, orientation, and paper size. A section break at the end of a chapter may create a blank page when the next section is set to begin on an odd or even page.
When you can safely combine the two sections, click immediately before the section break and press Delete. The text above the break then takes on the formatting of the section below it, so inspect the pages afterward.
Odd Page And Even Page Breaks
Book interiors often use an Odd Page or Even Page section break to place chapters on a particular side of an open book. If a chapter ends on the wrong side, Word may insert a blank page to preserve the layout. That blank page can be intentional in a printed book, even when it looks accidental on screen.
To inspect the break, place your cursor in the section after it. Open the Layout tab, select the small arrow in the Page Setup group, and switch to the Layout tab inside the dialog box. Check the Section start setting, and if it reads Odd page or Even page, change it to New page when your publishing format allows chapters to begin on the next available page.
Print layout decisions depend on the book’s trim size, binding, and design. For example, a blank verso page may give a new chapter the opening position you want. In contrast, a blank page at the end of a short ebook manuscript serves little purpose. Check the final PDF and the physical proof before removing a section break that controls a print convention.
Continuous Section Breaks
A Continuous section break keeps the next section on the same page and still allows different columns, margins, or headers. It can create an unexpected blank page when other layout settings conflict with it. To find the conflict, place the cursor in the section after the break and review the page orientation, margins, and column settings.
If you need the section formatting, keep the break and correct the conflicting setting. When the document has no reason to be divided into sections, delete the break and check your headers, footers, and page numbers. A section break that looks harmless in a draft can alter every page after it.
Fix The Final Paragraph And Table
Word always keeps a final paragraph mark at the end of a document, and you cannot remove it entirely. If the content before it fills the page, that mark can get pushed onto a new blank page. This happens often after a full-page table, a copyright page, or a chapter that ends close to the bottom margin.
To shrink the mark, select it, type 1 into the font-size box on the Home tab, and press Enter. If the mark remains on its own page, open the Paragraph dialog box and set its spacing before and after to 0 points. You can also reduce the bottom margin slightly through Layout and Margins.
Tables At The End Of A Chapter
A table at the end of a chapter creates a common blank-page problem because Word places a paragraph mark after every table. Even with no visible words, that final mark still needs room on the page.
Click the paragraph mark after the table and set its font size to 1 point. If the page refuses to go away, open the Paragraph dialog box and set the line spacing to Exactly 1 point. Leave the table itself unchanged unless the page still will not fit, since shrinking it can damage readability, especially in a nonfiction book with charts, exercises, or reference material.
Paragraph Pagination Settings
Word paragraph settings can push a heading or short block of text onto a new page. Select the paragraph near the blank page, open the Paragraph dialog box, and choose the Line and Page Breaks tab. Review Keep with next, Keep lines together, Page break before, and Widow/Orphan control.
Page break before forces a new page before the selected paragraph, and Keep with next can move a heading and its following paragraph together. Those settings help a chapter read cleanly. Combined, they can also create a blank page after a nearly full section.
Clear the setting that causes the unwanted move, then inspect the chapter opening and the preceding page. I leave Keep with next turned on for chapter headings and subheads when it protects the reading experience. On the other hand, I remove Page break before when a separate manual break already controls the opening.
Check Page Size, Margins, and Headers
A page can appear empty because the usable text area has become too small. Large top or bottom margins, a footer with several blank lines, or a different paper size can push one paragraph onto a fresh page. A section may also carry a different page size from the rest of your manuscript.
Click on the page before the blank one and open Layout. From there, review Size, Margins, Orientation, and Columns, comparing each setting with a nearby page that displays correctly. In a trade paperback manuscript, a common trim size such as 6 by 9 inches needs consistent page settings throughout the interior file.
Next, double-click the header or footer area to open it. Delete any extra blank paragraphs inside it, then close the Header & Footer tab. Before moving on, also check the distance from the edge, since a footer set too close to the bottom margin can force the body text upward and create an extra page.
Different First Page Settings
Chapter openings often use a different first-page header or footer. When that option is active, Word can hide the header on the first page while keeping its spacing in place. Select a chapter-opening page, open the Header & Footer tab, and review Different First Page.
Turn the setting off only if the chapter design does not need it. If you use it for page numbers or running heads, adjust the header and footer spacing rather than deleting the section structure that supports your design.
Linked Sections
Headers and footers can remain linked across sections. The Link to Previous button controls that relationship. Changing a header in one section can carry over to earlier pages when the sections stay connected, so save a duplicate before experimenting.
For a book interior, check the page count after every change. Removing even one page can shift right-hand chapter openings, throw off front matter numbering, and change the final page count needed for a print cover template.
Use Word Recovery And A Clean Copy
Some blank pages come from damaged formatting rather than a single visible break. This happens after repeated copying from Google Docs, Scrivener, web pages, or another Word file. Mixed styles and imported section settings can leave behind layout instructions that are hard to spot.
Before anything else, duplicate the manuscript under a new filename. Then copy the affected chapter into a new blank Word document using Paste Text Only. Once the text is in place, restore your manuscript styles, including Normal, chapter heading, body text, and scene break styles. This approach removes much of the imported formatting without requiring you to rebuild the entire book.
Use this method for one damaged chapter before rebuilding a full manuscript. A clean copy can fix the page. The trade-off is that it can also strip out italics, footnotes, hyperlinks, and deliberate typography. If the book contains scholarly notes, poetry, or complex nonfiction formatting, compare the original and cleaned versions line by line.
Word For The Web And Desktop Word
Word for the web has fewer layout controls than the desktop application. For a book manuscript, open the file in desktop Word when you need to edit section breaks, table pagination, headers, or exact page settings. Microsoft provides separate guidance for removing blank pages in Word, including cases involving paragraph marks and page breaks.
After the repair, export the document to PDF and review it page by page. Word and PDF can display pagination differently when fonts, printer settings, or page dimensions change. Open the PDF at 100 percent and inspect chapter openings, headers, footers, tables, and the final page before uploading it to a printer or distributor.
When A Blank Page Belongs
A blank page can be part of a professional book design. Front matter often places the title page, copyright page, dedication, and epigraph on separate pages. Print books also use blank verso pages to begin a chapter on the right-hand side.
Decide based on the finished format. An ebook rarely benefits from decorative blank pages, so remove them unless they clearly separate major sections. Paperbacks and hardcovers work differently, since a blank page there often supports the intended pagination and should stay. Judge each one in the exported PDF and the print proof rather than trusting the editing window alone.
FAQs for Unable to Delete Page in Word? Try These Fixes
Why Does Word Keep Adding A Blank Page?
Word usually adds a blank page because a paragraph mark, page break, section break, table-ending paragraph, or pagination setting needs more room than the current page provides. Turn on the ¶ symbol first, then inspect the blank page and the page before it. In most cases, the visible mark points to the cause.
How Do I Delete A Blank Page After A Table?
Click the paragraph mark after the table and reduce its font size to 1 point. Next, set its spacing before and after to 0 points, and if the page remains, change line spacing to Exactly 1 point. The table’s row settings come last, since shrinking the table can reduce legibility.
Should I Delete a Section Break to Remove a Blank Page?
Delete a section break only after checking what it controls. It may set chapter openings, page numbering, headers, footers, margins, columns, or page orientation. Save a duplicate, remove the break, and review every affected page in the exported PDF before keeping the change.
Keep The Layout Visible Until Publication
A blank Word page rarely needs a dramatic repair. Most fixes come down to a visible formatting mark, a careful look at the surrounding page settings, and one controlled change at a time. Start with paragraph marks and page breaks, then inspect section breaks, tables, pagination settings, and headers.
Your manuscript is a designed object once you prepare it for publication. Keep a clean backup, export a PDF after major layout changes, and check the final file in the format your readers will receive. Adazing tools can help with writing and book production. When page-level problems appear, inspect Word’s hidden formatting yourself.
